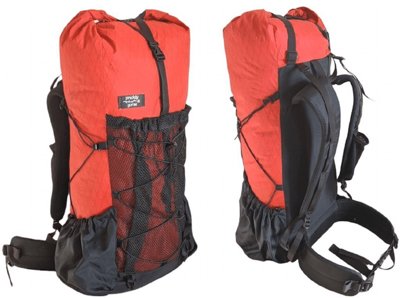
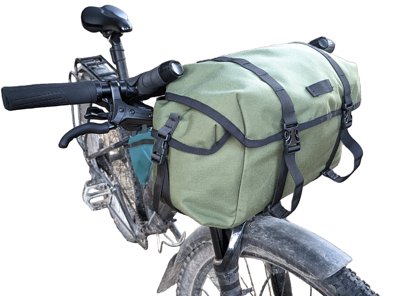
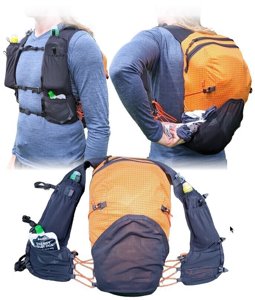
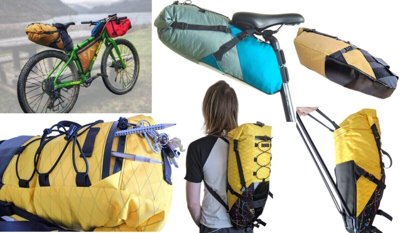
I see the question asked regularly about how to use 3D modelling for patterning. It is a tool I sometimes use when I want to cut out some of the guesswork and prototyping steps when starting a project.
The two programs I use are Blender and Sketchup. This article will focus on Blender because it is my current tool of choice, but I’ll also include a short note on Sketchup.
Blender is free, open source, and has a wealth of information online regarding learning to use the software. I’ve focused on Blender both because of its power, and because I want this guide to be accessible for everyone, and not stuck behind paywalls. I use free and/or open source software for everything, and try to contribute or donate, but you should be able to apply this to paid software. There is specialist software for patterning such as Clo3D, but the price is high.
SketchUp Make 2017 can still be found online, which was the last free Desktop version, but I can’t provide links.
I do not intend to teach how to use either software packages here, as there is so much content online already devoted to that. You don’t need to pay for a course, so much excellent free material, but I will focus on how to turn your models into patterns to keep this article shorter.
Blender
The king of open source modelling, rendering and animation. An immensely powerful program that I have barely even scraped the surface of what it can do, but it is excellent for patterning more complicated shapes. SketchUp can be learned in a few minutes, Blender is a bit more involved, but worth the time.
The key to patterning in Blender is creating UV maps, which are Blender’s way of flattening shapes onto a 2D plane, often used for adding textures to 3D models. A notable mention also to the Paper Model plugin (included with Blender but needs enabling in the settings) which as expected, exports your model to a paper model. This plugin produces geometrically perfect patterns, but requires geometrically perfect models to begin with. UV maps however are excellent for smoothing out geometries and making awkward shapes into patterns.
There is also Seams to Sewing Pattern plugin, which automates making the UV maps and fabric simulation physics
Understanding UV maps
I do not intend to explain how to model with Blender in this article as there are far better tutorials online than I could ever make (and I don’t even know that much). So this is going to assume some knowledge of the software.
Lets start with an example sphere
Work your way around the centre of the sphere selecting the edges and marking them as seams
Now run the UV – UV Unwrap command from the toolbar and switch to UV editing mode.
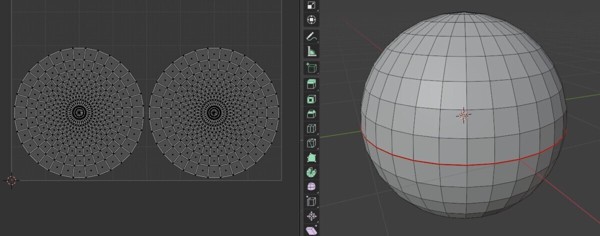
Your first pattern! But its looking a bit like a pancake? Remember that UV maps are a flattened model, or if you’ve got a geography/geology background, think of them as projections. We have flattened the model around the seams into a basic form.
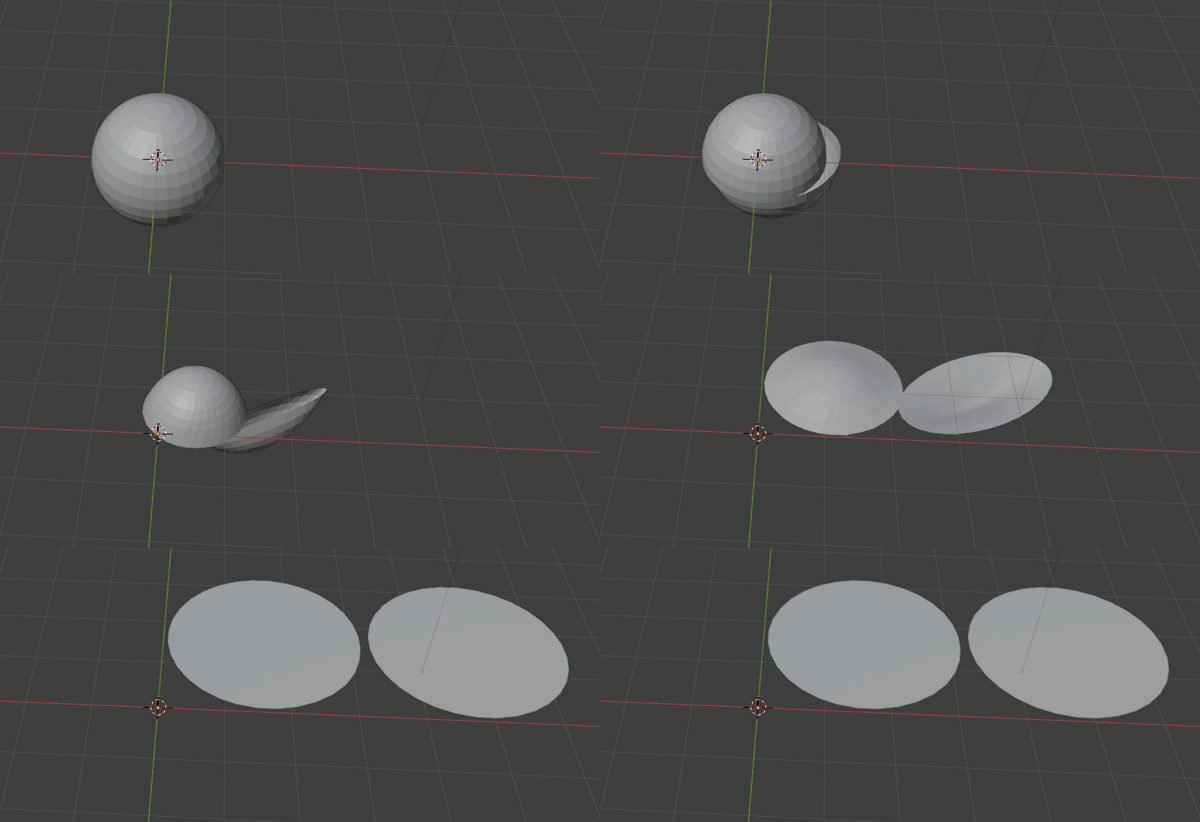
But when sewn together, these two flat pieces will not make a nice sphere shape.
Lets instead run the Paper Model plugin and see the difference. It automatically adds more seams to make a geometrically perfect pattern. You could add seam allowances, sew it, and you’d have a sphere again, not a pancake, but it would be horrible to cut and sew. This is where some knowledge of how things are sewn is required with UV maps.
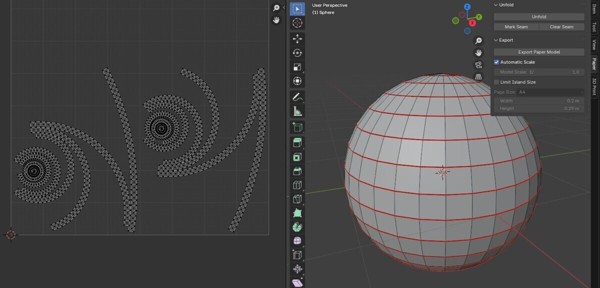
Lets add a vertical seam, and run the UV unwrap. Now we are getting something that would look a bit more like a sphere when sewn. 4 panels with curved sides to allow volume. If you don’t believe it will look more sphere-like, many beanie hats are only two or four panels, just like this. It’s enough to approximate a sphere, especially when fabric stretch is considered.
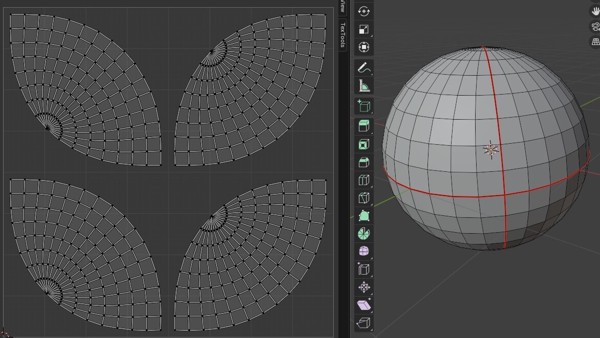
You can experiment with adding more seams and seeing how the pattern looks.
Hopefully you’ll now see how UV maps flatten geometries, which is super useful for patterns, but can over simplify. You’ll need to have some understanding of sewing order of operations, geometry to know where to put the seams, and see what geometry has been oversimplified.
A great feature of UV maps is stretch maps, where you can see exactly what blender has simplified to make your UV map. Dark blue is unchanged, yellow has been heavily distorted to flatten it. These distorted regions may need more seams to reconstruct that part of the geometry, if you want to maintain it.
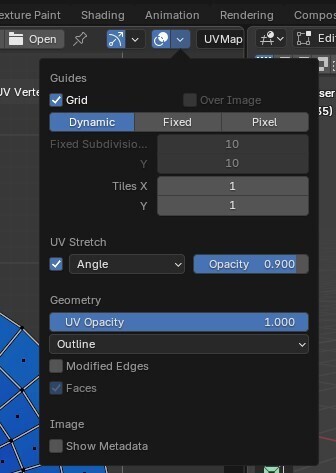
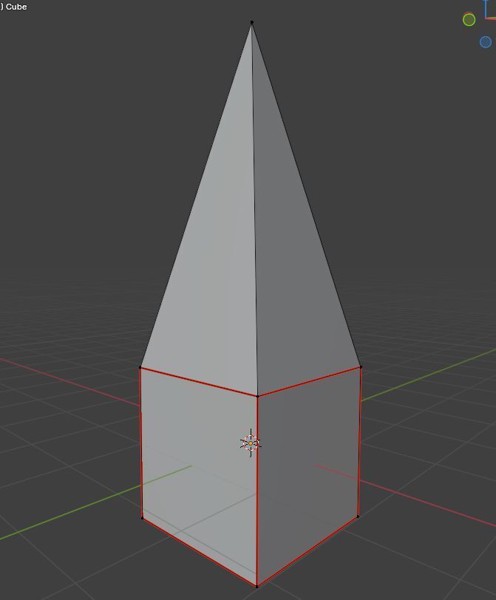
Lets take this silly example, a cube with a pointy top.
Now we run the UV map command and this is the result. There are two very important things to note here. First, the stretch map. The light blue/green colour shows heavy distortion required to create the UV map. This is a warning sign that you need to check before any sewing.
Second, we started from a cube, so wouldn’t we expect the flattened shape to be 6 panels all the same size? This shows a limitation of this technique, that UV mapping isn’t really for sewing patterns, its for texturing models. Where there is UV stretch, you need to double-check your edge lengths match between each pattern piece to make sure it will sew together accurately. And make adjustments to minimise stretch. Often however, the amount of edge length difference is a few millimetre, so in practice you can sew it with no issues, especially when you think about the inaccuracy in cutting the fabric and while sewing, that you’ll often be a couple of millimetres off from perfection anyway.
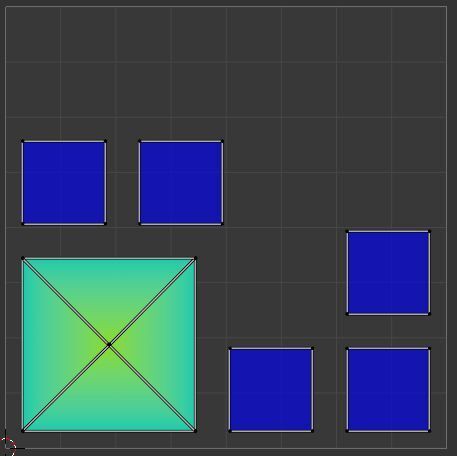
This was an extreme example, and hopefully you’ll appreciate that the pointy topped cube would never work as a sewing pattern with just the edges as seams anyway, you’d need a seam going up to the point apex. You need to think about your models and how they translate to fabric.
Fabric Simulation
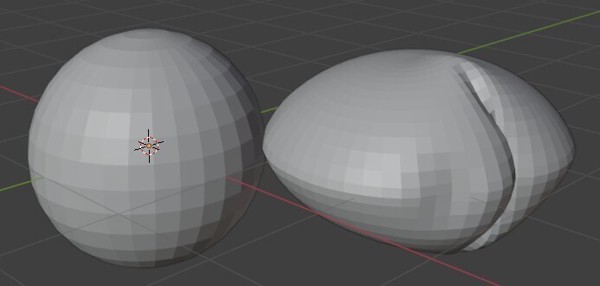
If you want to visualise your model, you can run a fabric simulation to see how it might look when filled up.
First you want to add a Remesh or Subdivision Surface modifier
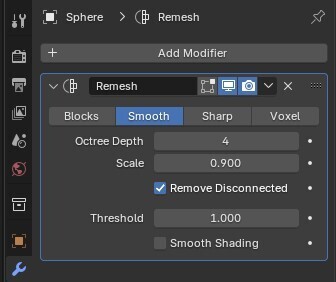
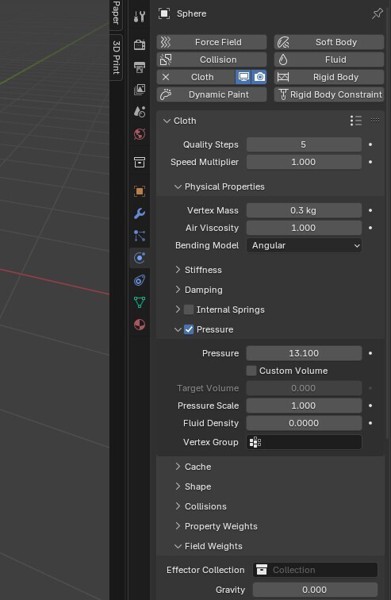
Then add Cloth in the physics tab. Add some pressure, and turn off Gravity in the field weights. Exit Edit mode to Object mode in the Layout tab, and press spacebar to watch your model inflate!

The fabric simulation from above of the two panel sphere UV map (right) compared to the original sphere (left)
Scaling and Seam Allowances
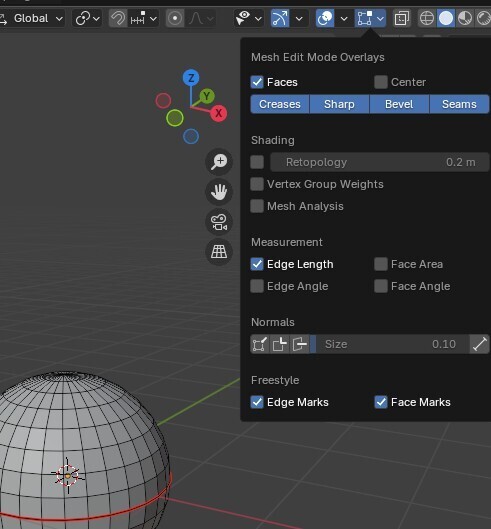
In Blender, you can enable viewing edge lengths to aid getting the correct scaled model. There are also some handy plugins available that let you specify edge lengths, and use Blender in a similar way to CAD software.
When your model and UV map is finished, you can export the UV map as a SVG then tidy it up in your favourite vector editing software. I exclusively use Inkscape for this, and my process is as follows:
- copy the entire UV map from the Blender export to a new file. Blender exports in different document units so just copy and pasting into a new document that defaults to millimetres is easier than adjusting the original file
- Use the RealScale extension to scale your UV map to actual size. Group the UV map, draw a line of known length (e.g. along the back panel) and scale
- Select all – Path – Convert to Path. The objects are polygons originally, which are not very useful for editing
- Select each panel one at a time and Path – Union to turn into one piece instead of multiple smaller triangular pieces, if required.
- Copy and Paste each piece in place (Ctrl Alt V), then add a Offset Live Path Effect with your required seam allowance to the copied piece.
- Print! If you need to tile the document, see my tiled PDF templates for Inkscape
I’m not sure if you can add offsets to UV maps in Blender, but its trivial to export to SVG or EPS and add them in Inkscape (free, open source, awesome. Use the Offset live path effect).
Sketchup
Sketchup Make 2017 was the last free desktop version. It can be found available still online, but I can’t link to it. I will however provide this link to a forum post, which might be of use to someone who does find a copy.
This is a very brief section as I don’t use Sketchup much anymore. The key is using the unwrap extension. Select faces in groups that match your desired fabric panels and run the extension to lay them out on the ground. It can’t handle flattening complex geometries like Blender can, which is why I don’t use it too much anymore.
To export, set the view to Top and the perspective to Parallel. If you have infinite trial Pro version, export to any vector format (SVG, PDF, EPS). If you are using a free version, print to PDF (install a PDF printer if required, but generally built into operating systems these days).
Then follow the instructions above for adding seam allowances, scaling etc in Inkscape.
