Getting started with making your own gear (MYOG) doesn’t require a professional workshop. Here’s a guide to setting up a practical workspace and the essential tools that will make your projects easier and more professional.
Setting Up Your Workspace
Don’t worry if you don’t have much space. I started in a cramped bedroom at university and still have to cut fabric on the floor sometimes! The key is making your space work for you.
- Dedicated Area: If you can, dedicate a spacious table or desk where you can spread out patterns and fabric without feeling cramped.
- Organization: Keep your tools and materials within reach. Shelves, drawers, or wall organizers are great. Pro-tip: When you buy materials, add a small label noting the supplier. Quality varies, and this helps you remember where to re-order the good stuff!
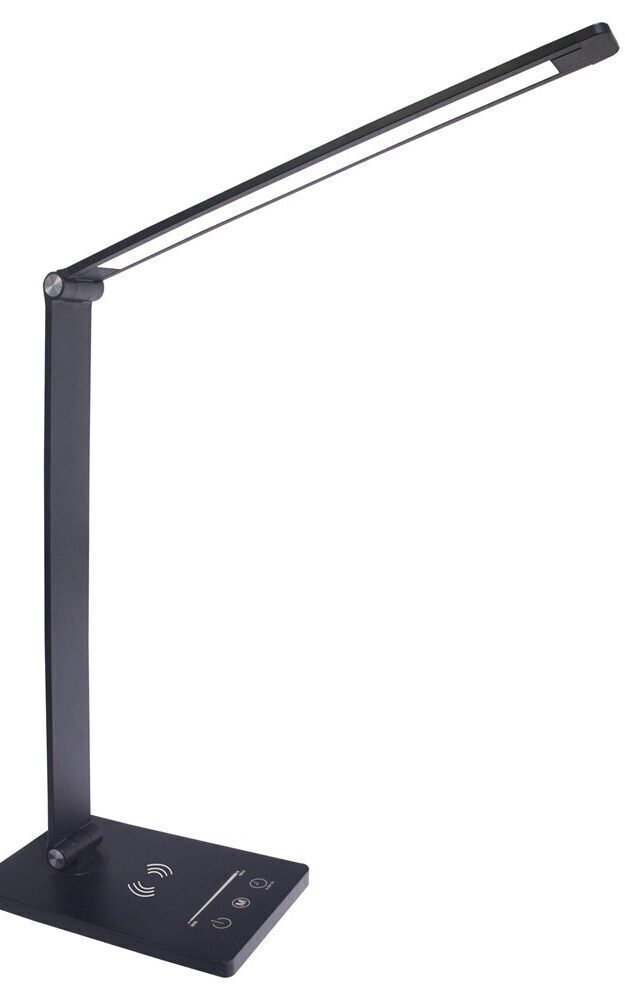
- Good Lighting: Proper lighting minimizes shadows and helps you see markings and assess stitch quality. A simple, adjustable LED desk lamp works wonders. Some even attach directly to your sewing machine.
The Essential Toolkit
While the list of potential tools is endless, these are the core items I recommend for anyone starting out.
Marking & Cutting Tools
These tools are fundamental for turning a flat piece of fabric into accurately shaped pattern pieces.
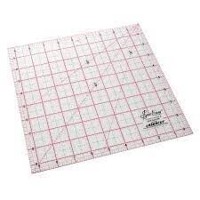
A transparent quilting ruler is a game-changer for cutting square and rectangular pieces. You can see the fabric underneath for perfect alignment, and many have common angles marked. A 24" x 6.5" ruler is a great all-rounder, but a square ruler (like 15" x 15") is also incredibly useful.
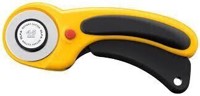
A rotary cutter allows for fast, precise cutting of long straight lines (along a ruler) and smooth curves. A 45mm blade is a versatile starting size. Once you use one, you'll rarely go back to scissors for primary cutting.
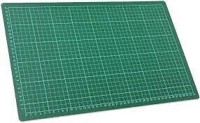
This is the essential partner to a rotary cutter. It protects your table and keeps your blade sharp. Get the largest mat you can afford and store as you'll always appreciate the extra space. My A0 mat often feels too small!
Fabric Scissors: Still necessary for small, intricate cuts where a rotary cutter is too clumsy. Dedicate a good pair only for fabric to keep them sharp.
Sewing & Assembly Tools
These tools help during the actual construction process.
Absolutely essential. You will make mistakes, and a seam ripper is the tool for undoing them. A chunky, ergonomic handle is great for pushing through thick, reinforced seams like bar tacks. Don't be discouraged! Even professionally made gear sometimes has evidence of ripped seams!
Thread Snips: A small, spring-loaded tool for clean, precise trimming of thread tails. So much easier than using large scissors.
Wonder Clips or Pins: Essential for holding seams together while you sew. I prefer clips as they don’t leave permanent holes in waterproof fabrics, but this is a matter of personal preference.
Basting Tape: A narrow (I use 1/4" or 6mm) double-sided tape used as an alternative or supplement to clips. It’s especially useful for holding zippers perfectly straight before sewing. Try to avoid sewing directly through it, as it can gum up your needle.
Finishing & Miscellaneous Tools
Lighter or Hot Knife: Used to melt and seal the ends of synthetic threads, webbing, and some uncoated fabrics to prevent them from unraveling. Always use in a well-ventilated space.
Scrap Fabric: Keep all your offcuts! They are essential for testing thread tension on a new fabric, practicing a technique, or prototyping a design before cutting into your expensive material.
Interchangeable Presser Feet: Most machines allow you to swap the presser foot. Specialized feet like a zipper foot, binding foot, or a Teflon/roller foot (for sticky fabrics like Hypalon) can make specific tasks much easier.
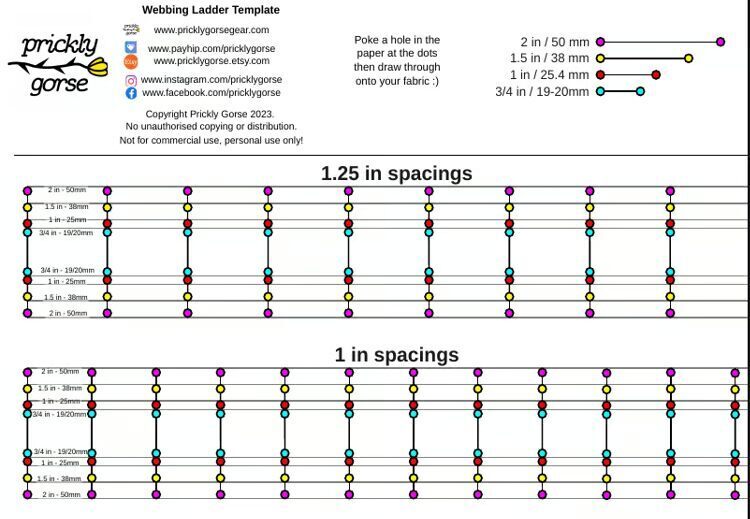
Bonus Tool: Webbing Ladder Templates
For perfectly spaced webbing ladders (MOLLE/PALS), these printable templates are a huge time-saver. Mark your fabric through the template holes for flawless alignment every time.
Get Free Templates