Not sure how to start making patterns? Do you struggle with the maths of calculating accurate middle (gusset) pieces? This is the tool for you!
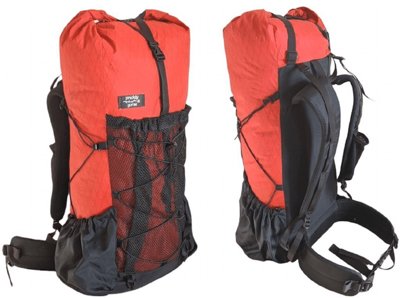
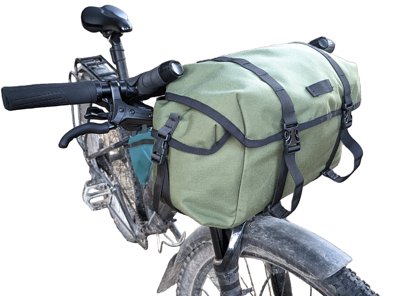
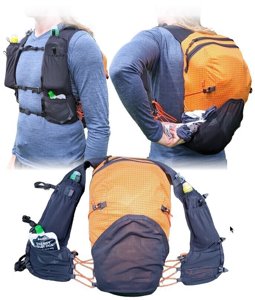
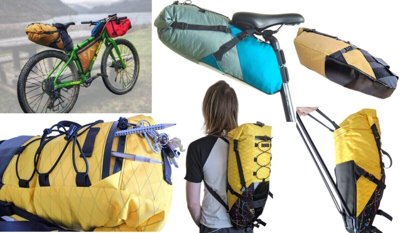
This is the quickest way to generate a pattern for any sewn item that consists of a side panel and a gusset (middle piece) sewn around. Think frame bags, laptop bags, pouches, backpacks, totes, and purses.
I have previously released an Inkscape extension that can automatically generate patterns from shapes drawn. Not everyone has access to or uses Inkscape, so I’m working on bringing that key functionality to this online tool.
Support the development of more free tools
These free tools take up a large amount of my limited personal time, so any support is greatly appreciated!
Version 2 (June 2025)
This version is a complete rewrite from the ground up to make it more intuitive and similar to familiar graphic design software. The UI is completely refreshed, the canvas is fully interactive, and the first work on pre-set shapes for you to start patterning from has been implemented.
Please report any bugs via the Contact Page.
Start Designing Your Own Gear!
Open in a New Tab
Version 1 is still available here if required, as the save files aren’t compatible between versions.
Instructions
Drawing & Editing
- Draw your shape by clicking or tapping on the canvas.
- Or Generate a shape by clicking the circle or rectangle buttons.
- Add gusset seams by clicking a point to mark it as a seam split.
- Delete points by selecting a point and clicking delete.
- Move points by clicking/tapping and dragging any point.
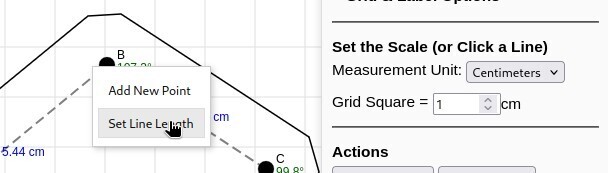
- Add new points by clicking anywhere along a line segment.
Canvas Movement
- Hold Shift + Click on the canvas to pan. Use the mouse wheel to zoom.
- On mobile, use two fingers to move and zoom the canvas.
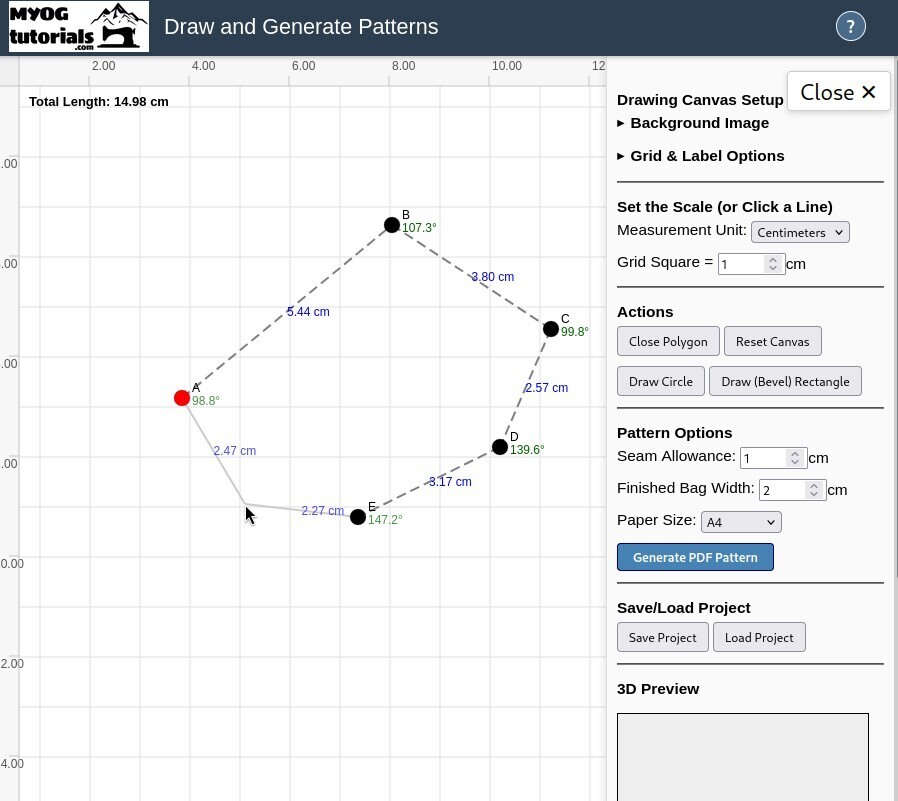
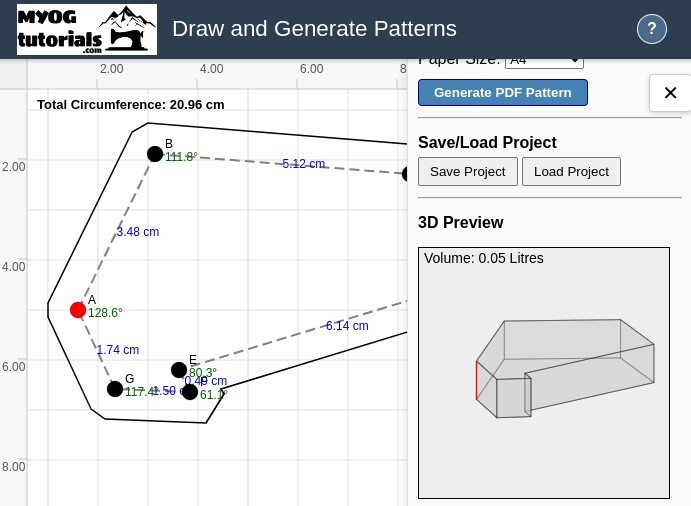
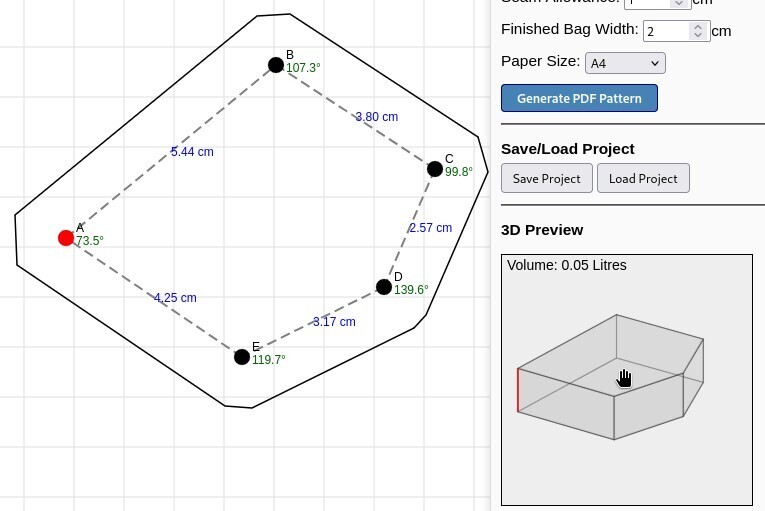
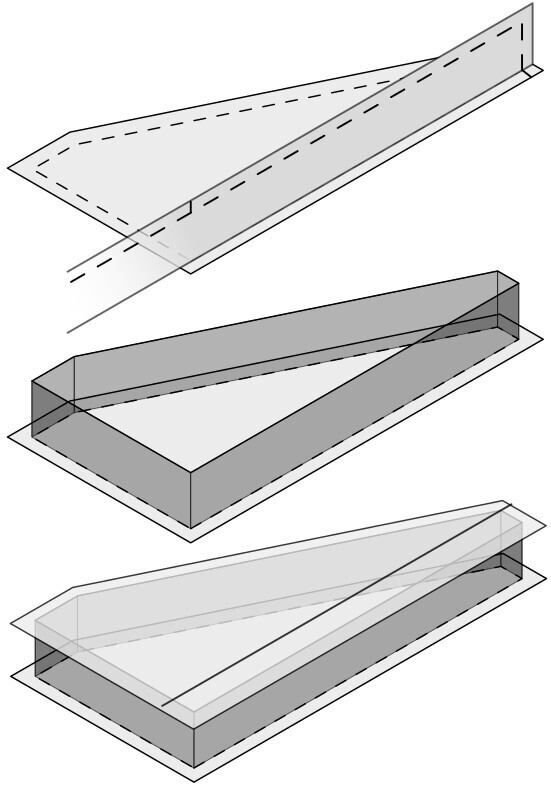
Add seam allowance by pressing Enter or clicking the "Close Polygon" button to complete the shape. A helpful 3D view will also appear! You can adjust the seam allowance in the pattern generation sidebar.
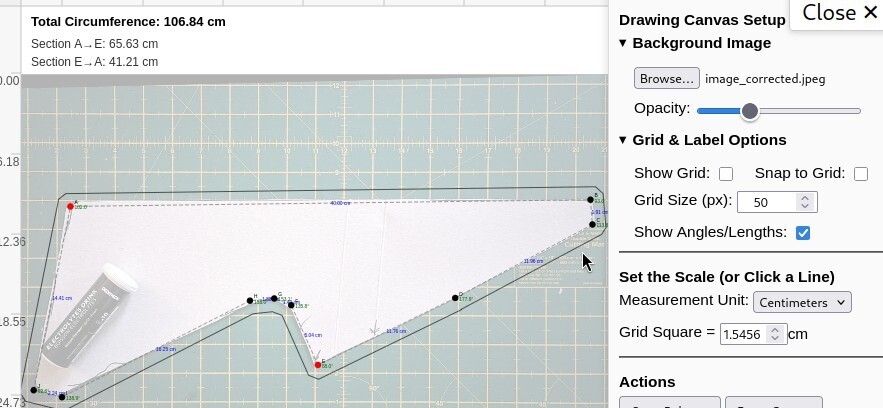
Scaling is adjusted by either specifying the actual real-world dimensions of each grid square, or choosing a line segment and specifying its known length.
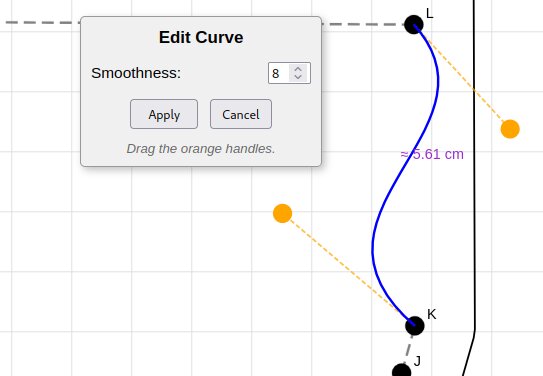
Curves are made by clicking a line segment and selecting Edit as Curve. Drag the two new control point handles to adjust the bezier curve. When finished, click apply. The curve is then converapproximated into segments based on the smoothness value (number of segments) selected.
A background image for tracing can be added by clicking the browse button. If the image has a distorted perspective, please use my free perspective correction tool first. No images are uploaded; this all runs locally on your device.
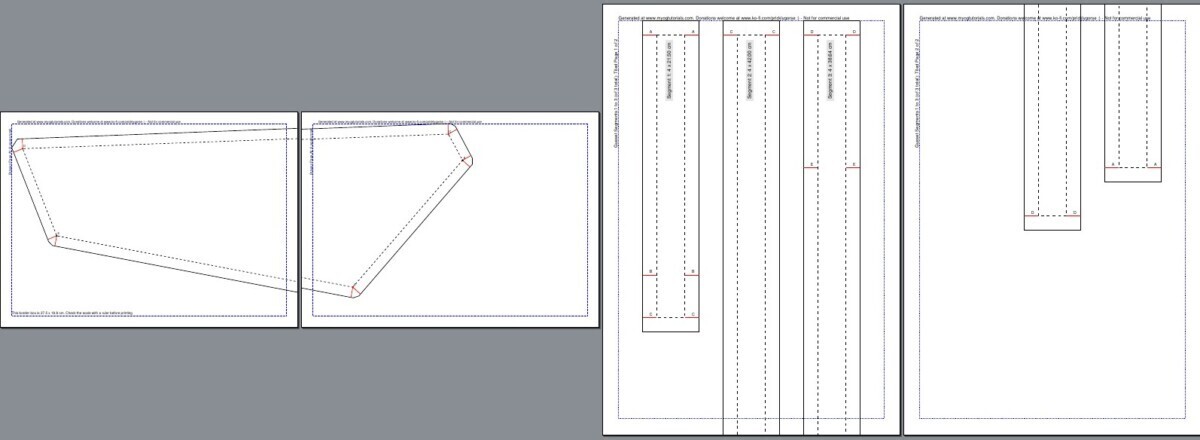
Pattern Generation: Specify how wide you want the bag to be (use the 3D view to visualize) and the seam allowance, then click "Generate Pattern" (or type "P"). You will now have an automatically generated pattern, ready to print!
Printing: Patterns must be printed at 100% or “Actual Size”. Use the scale box to check your printout before cutting fabric.
Known Quirks
- You can draw whatever you want, but it doesn’t mean you can sew it. For example, patterns with sharp inward corners will be very difficult. Always test on scraps.
- This tool is a work in progress and might have bugs.
- Linear segments only currently. The groundwork for curves is laid for future versions. For now, just add lots of points to simulate curves.
- Wide gussets (wider than the paper width) aren’t tiled for printing yet.
Sewing Instructions
For general instructions related to frame bags, which are a perfect example of what this tool can be used for, see this article:
A Rough Guide to Custom Frame Bags
Made something cool? I’d love to see it. Feel free to share your creations via the social links on the site, reddit.com/r/myog, or the contact form.
Changelog
- 5 Aug 2025: Version 2.2 - Curves! Click a line to edit as a curve. Also selecting a group of points displays the length of the selection
- 1 Aug 2025: Version 2.1 - Mirror/Flip shape. Undo (finally) added. Set the start point for labelling
- 19 June 2025: Version 2 released