There are many times you will want to add webbing, handles, or straps to your projects that form an area of concentrated stress. Typically you will want to reinforce these areas to ensure the longevity of your project.
Buttonhole Stitches
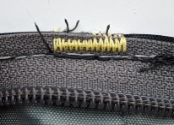
Buttonhole stitches are useful for adding reinforced holes for drawcords and drainage holes in pockets as an alternative to hammering in an eyelet. Some sewing machines can do automatic buttonholes. With others, you’ll want to use the zig-zag setting at different widths to make the stitch pattern below. There are lots of guides online that show how to do buttonhole stitches, but this figure shows the general method.

Bar Tacking
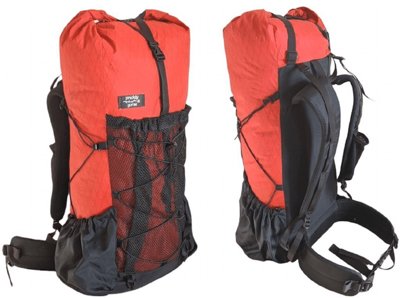
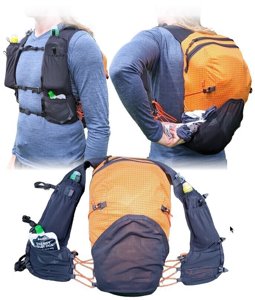
A bar tack consists of many stitches closely spaced to reinforce an area. It's very common on outdoor gear, especially on webbing ladders (e.g., PALS/MOLLE) for attaching gear, and also on clothing items such as jeans pockets. These usually follow a specific pattern programmed into a dedicated bar-tacking sewing machine, but you can imitate them in three ways: a closely spaced wide zig-zag stitch going back and forth a few times, two straight stitches followed by a zig-zag over the top, or sewing at least three overlapping rows of straight stitches. Try to avoid bar tacking on lightweight fabrics like 70D ripstop, as the increased stitch density can actually encourage tearing. Reinforce the area with extra layers of fabric first before bar tacking, or design around not needing a bar tack, such as by anchoring webbing into seams instead of mid-panel.


Box-X Stitch
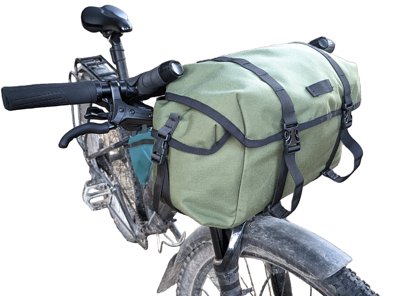
The Box-X is another common reinforcement stitch pattern. It's good for areas where stresses are multi-directional, like bag handles, and for weaker fabrics that cannot take as many needle holes as a bar tack. It is more time-consuming to sew than a bar tack and requires multiple rotations of your fabric panel. Hammock and climbing forums are a great rabbit hole to explore if you want to know in-depth about the relative strengths of a bar tack vs. a box-x stitch (and other patterns like a W-stitch). For the purposes of these sewing guides, either will work great.


