The Machine That Matters Most: Yours!
Forget the hype. Whether you’re eyeing a vintage domestic workhorse, a modern ‘heavy-duty’ model, or an industrial beast, the best sewing machine is the one you have access to. While I often sew on industrial machines, every MYOG Tutorial is designed to be achievable on a home machine. In fact, domestics often have a crucial advantage: the zig-zag stitch, essential for bartacks and stretchy fabrics.
The Home Machine: New vs. Vintage
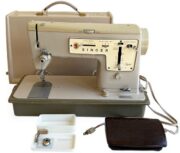
Don’t underestimate a good domestic machine. Many quality vintage models boast robust metal parts and are more than capable of handling technical fabrics. I personally stitched over 100 bags, including hiking backpacks, on my 1970s domestic before even considering an industrial machine.
When buying vintage, prioritize in-person checks: turn the hand wheel to ensure the needle and bobbin hook move smoothly. Plastic timing gear issues are common, so be wary if a seller claims ignorance!
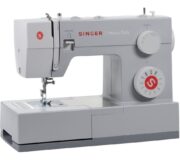
For modern domestic machines, the Janome HD3000 and Singer Heavy Duty series are popular choices. Look for these features:
- Heavy Duty Motor: Crucial for tackling multiple layers of dense fabrics like Cordura or X-Pac.
- Adjustable Presser Foot Pressure: Essential for handling diverse fabric types, from slippery silnylon to thick webbing.
- Essential Stitches: Beyond the straight stitch, a reliable zig-zag is your most valuable asset for bartacks and stretch materials. Don’t pay extra for dozens of decorative stitches you won’t use.
- Durability: Research reviews for reliability. Sadly, truly ‘buy-it-for-life’ domestic machines are becoming rarer.
- Price: MYOG is often about saving money! More expensive doesn’t always mean better for MYOG; many high-end machines cater to quilters with features unneeded for technical sewing.
- Interchangeable Presser Feet: Useful for specific tasks: zipper feet, binding feet, or Teflon/roller feet for tricky fabrics like Hypalon or TPU-coated materials.
- Walking Foot Attachment: While rare as a built-in feature on domestics, a clip-on walking foot attachment dramatically improves feeding multiple thick layers evenly.
Stepping Up: Industrial Machines
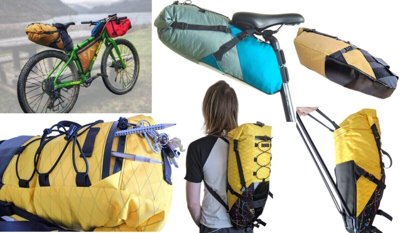
If you’re sewing frequently, especially heavy-duty items like large backpacks or anything with many layers of thick fabric, an industrial machine might be your next step. They aren’t necessarily more expensive than high-end domestics and often don’t take up much more space. Their superpower is durability and prioritizing a single stitch type over versatility.
Consider these types:
- Lightweight Industrial: Operates much like a powerful domestic, usually straight-stitch only. Great for speed and precision on a wide range of fabrics. Sometimes, I wish I’d started with one of these for lighter projects!
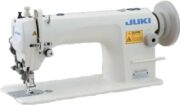
- Walking Foot (Compound Feed): The workhorse for thick seams. A moving upper foot works with the lower feed dogs to pull all layers evenly, preventing puckering and shifting. Perfect for backpack straps and upholstery, but can be overkill for very lightweight materials.
- Needle Feed: The needle itself moves forward with the fabric, providing excellent layer synchronization, often found in commercial settings.
- Zig Zag Industrial: Uncommon, but some models like the Singer 20U offer industrial strength combined with the versatile zig-zag stitch.
No Machine? No Problem!
Don’t have a machine? Don’t let that stop you!
- Borrow or Rent: Ask friends or family. Many community centers or fabric stores offer machine rentals or classes.
- Hand Sewing: While demanding, many small MYOG projects can be hand-sewn with a strong needle and thread (e.g., using a speedy stitcher).
- Discover a Maker/Hack Space! These community-run workshops are incredible. For a small membership fee (often less than a streaming service), you gain access to shared equipment like industrial sewing machines, laser cutters, 3D printers, and full wood/metal shops. They are a game-changer for accessible DIY.
Seriously, if you read nothing else, find out if you have a local maker/hack space. Support them! It’s how we keep MYOG and DIY alive and accessible for everyone!
Using Your Machine: First Stitches & Best Practices
Before you power on, always consult your machine’s instruction manual! If you don’t have one, search online for your model; they’re usually available as free PDFs. Correct threading and bobbin winding are critical.
- Setup Basics: Learn to correctly install the needle, presser foot, and wind your bobbin. Always choose the right needle size for your fabric thickness.
- Practice Makes Perfect: Before touching your precious project fabric, practice on scrap material or even lined paper! Focus on maintaining a straight stitch line and mastering the zig-zag.
- Backstitch is Your Friend: Always backstitch 2-3 stitches at the beginning and end of every seam. This locks the thread and prevents unraveling, ensuring your gear holds up.
- Seam Allowance Guides: Use the markings on your machine’s needle plate to keep your seam allowances consistent. Precision matters!
- Maintenance Matters: Regularly clean lint from your bobbin area and oil your machine as per the manual. A well-maintained machine runs smoothly and lasts longer.
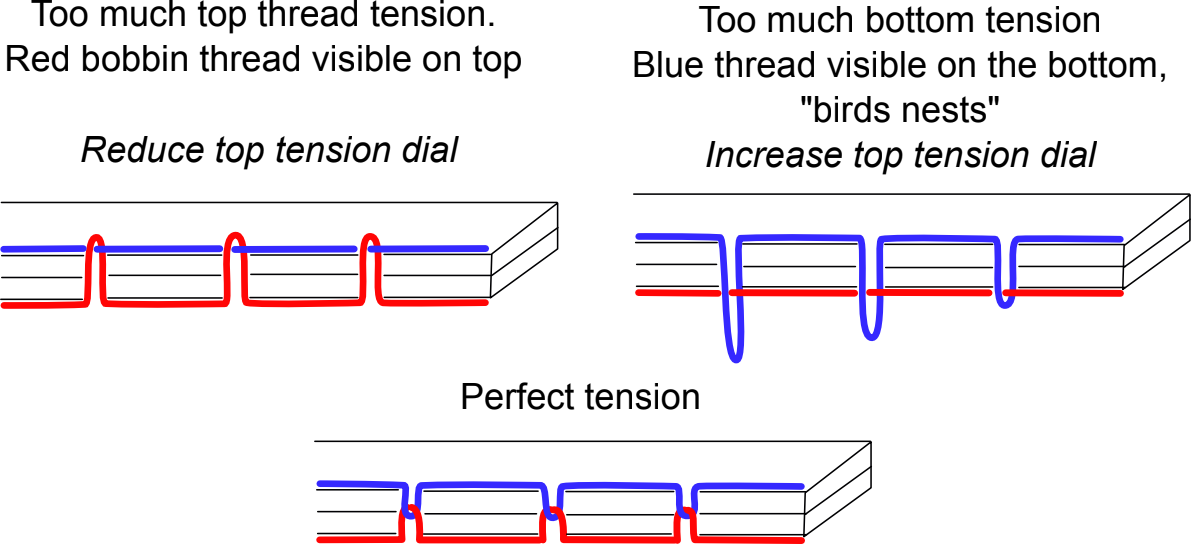
- Thread Tension (Crucial!): Your top and bobbin threads should meet perfectly in the middle of your fabric, forming a balanced stitch that is strong and resilient. Adjust the upper tension dial primarily. Bobbin tension is usually set-and-forget unless you’re making major thread changes. For more detail, check out our guide on Needles, Thread, and Tension.