Super useful technique for adding volume to bags. There is a huge variety of types and ways to calculate them, but this article will keep it simple and focus on two common types found on bags: darts at a squared corner, and darts on rounded corners.
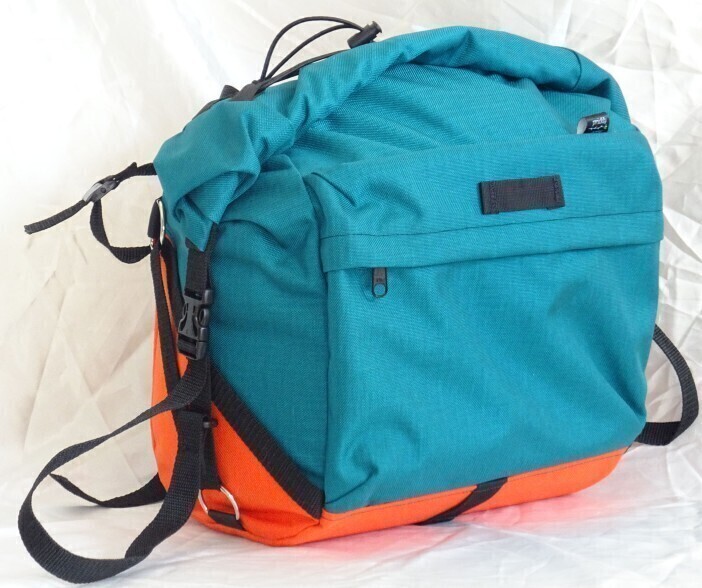
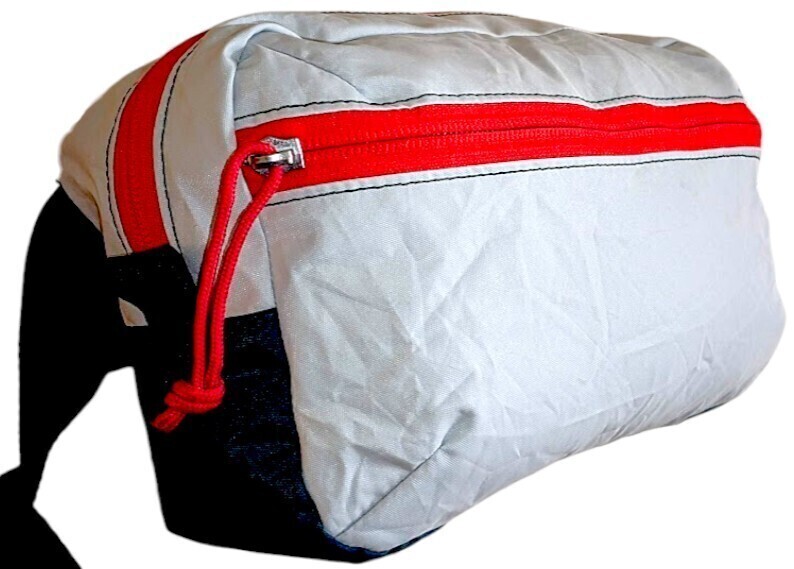
Table of Contents
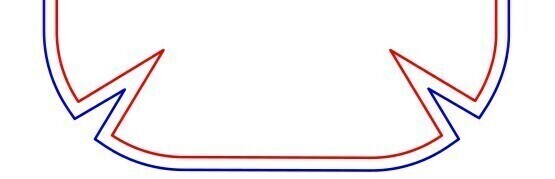
Playground
Have a play with the values here to see how the pattern changes!
2D Pattern
3D Preview
Want to generate a pattern? See the new darted pattern generator page!
Keep reading for how to calculate the patterns yourself.
Darts on Square Corners
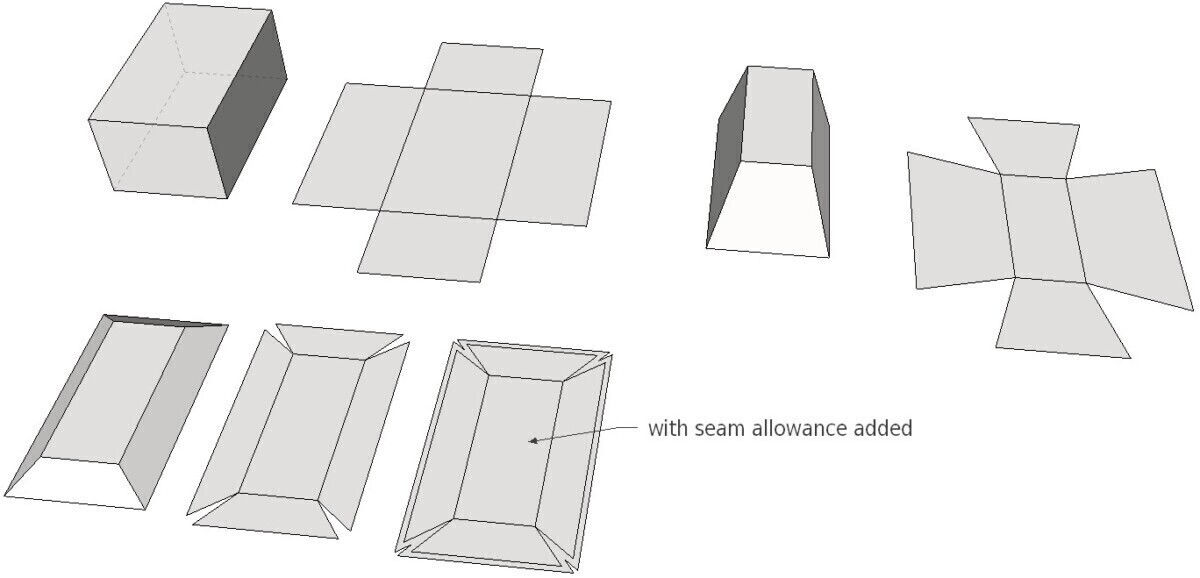
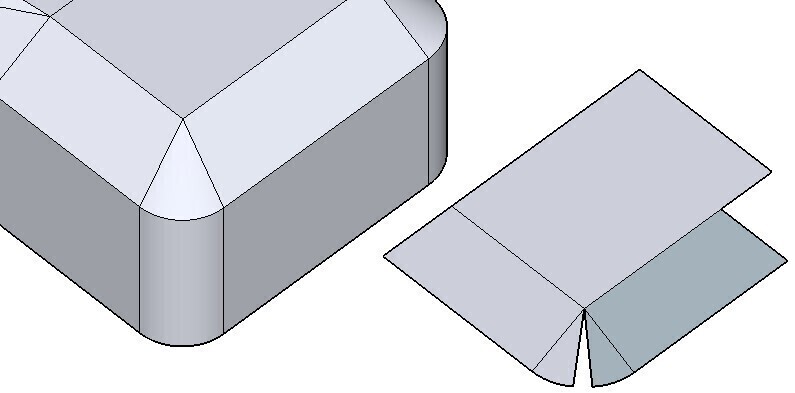
The figure above shows a selection of shapes, and how they would look when they are flattened and made into patterns. Note how the side panel lengths and angles change as the top of the box is made smaller, or the height of the box is changed.
How do we calculate this?
Lets start with a simple shape. I want a boxy shape that is 4 x 8 units on the bottom, 2 x 6 units on the top, and 1.5 units tall. You could use inches, metres, lightyears or whatever units.
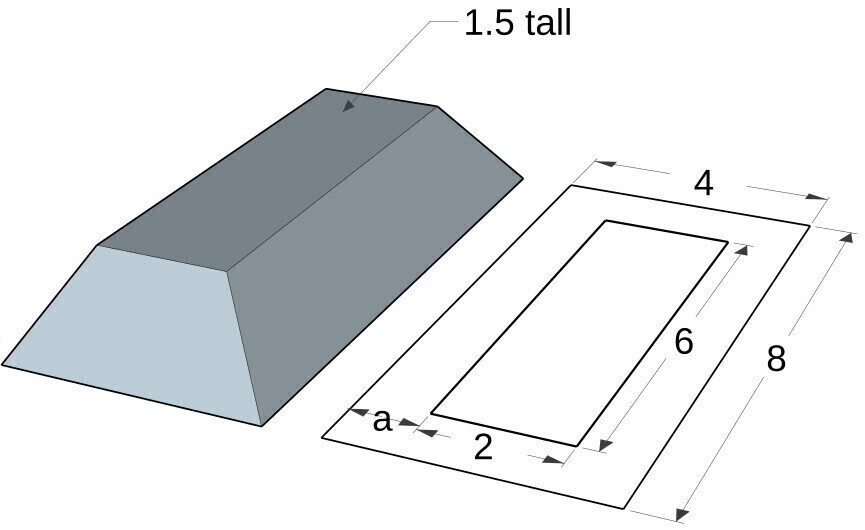
The difference in length between the top and the bottom in plan view is ‘a‘, in this example it is 1 unit.
The box shape is now a series of triangles, so calculating the side panel length (hypotenuse) needs a quick application of Pythagoras theorem.
c = sqrt(a2+b2)
where again a is the plan view difference in length between the top and bottom sides, and b is the height.
Calculator 🙂
Side Length: 1.8
In this example, the width of the sides ‘c‘, is sqrt(12 + 1.52) = 1.8 units.
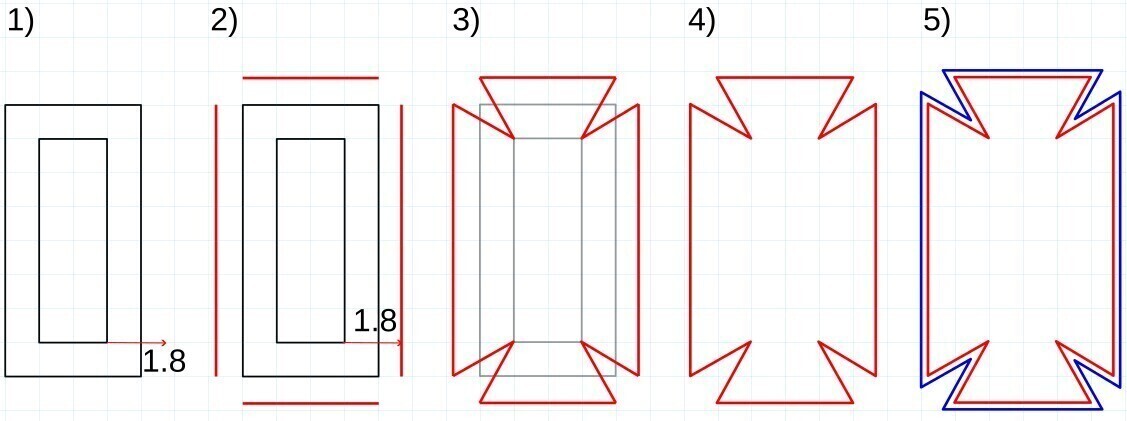
Now we build up the pattern.
- Starting from the outline of the top of the box, measure 1.8 units outwards.
- Draw the side lengths of the bottom of your shape 1.8 units out from the outline of the top of your box. In this example the red line lengths are 4 and 8 units.
- Draw lines connecting the corners of the outline of the top of your shape, to the new side panel lines.
- This is the pattern with no seam allowances, which you could use if you were making a paper model
- Add seam allowances. I’ve added a seam allowance of 0.25 units all the way around, which is the blue line.
You now have a pattern for a darted boxed shape with squared corners, that is 2 x 4 on top, and can be sewn to a bottom piece that is 4 x 8, and is 1.5 tall.
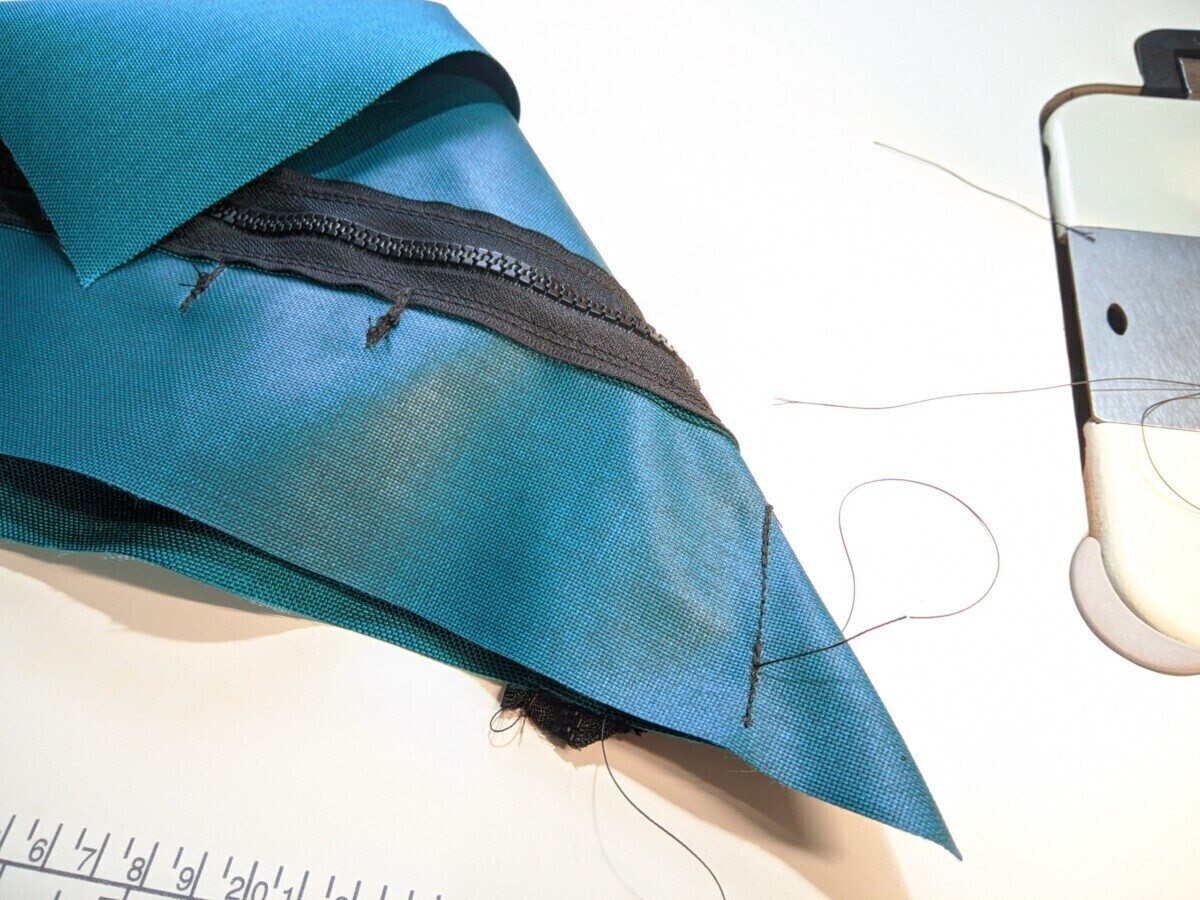
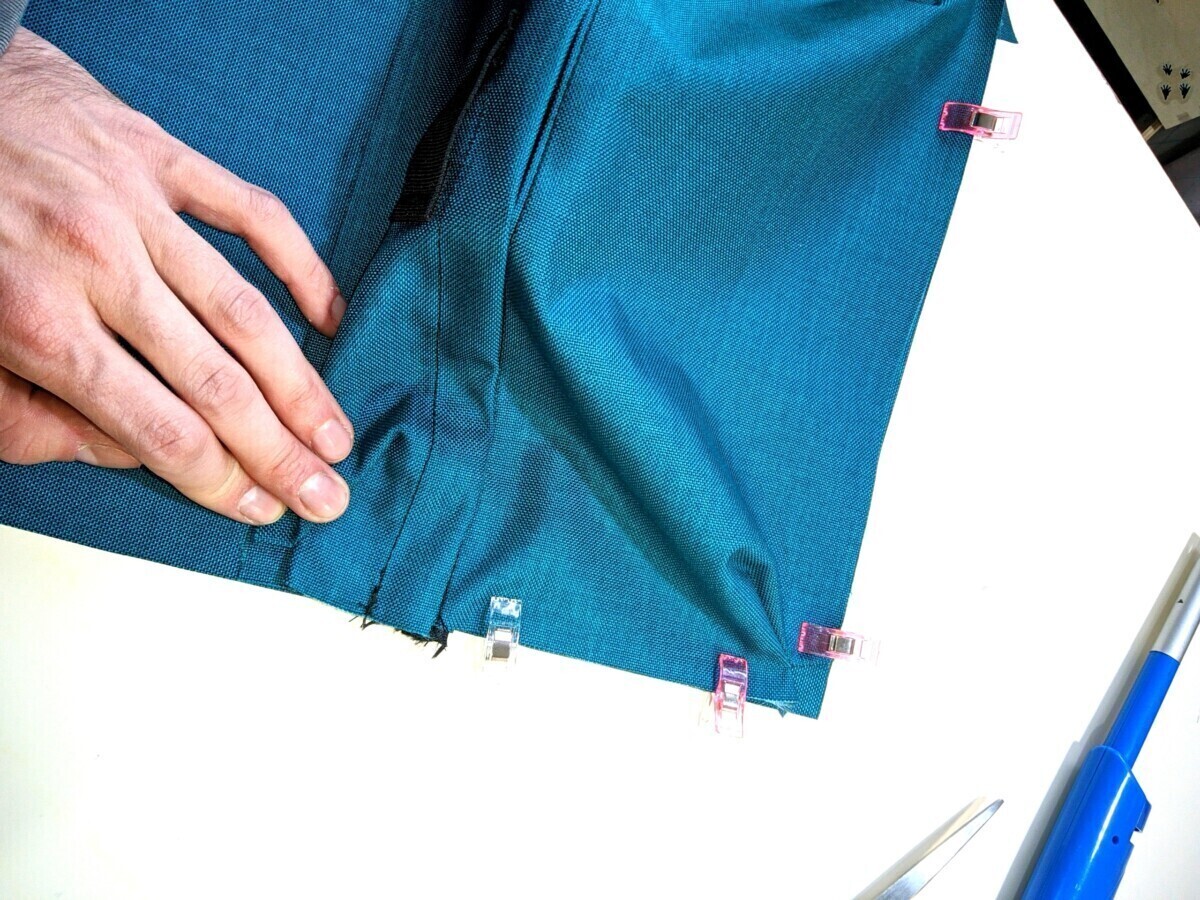
Sewing
Simply fold the fabric so the right sides are touching, sew with the correct seam allowance for your project up to the edges of the fabric, then sew the 3D shape you’ve made to the rest of your project.
Darts on Rounded Corners
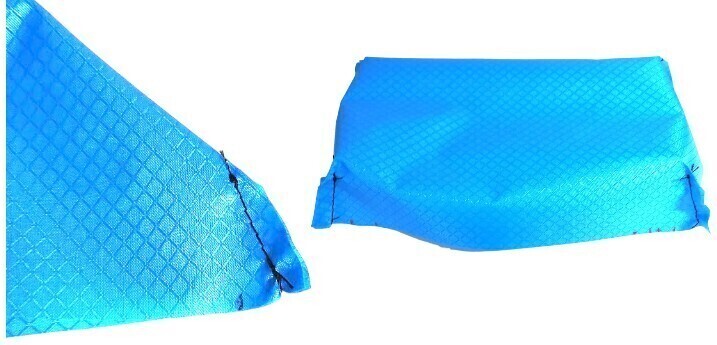
These are slightly more work, but well worth the effort!
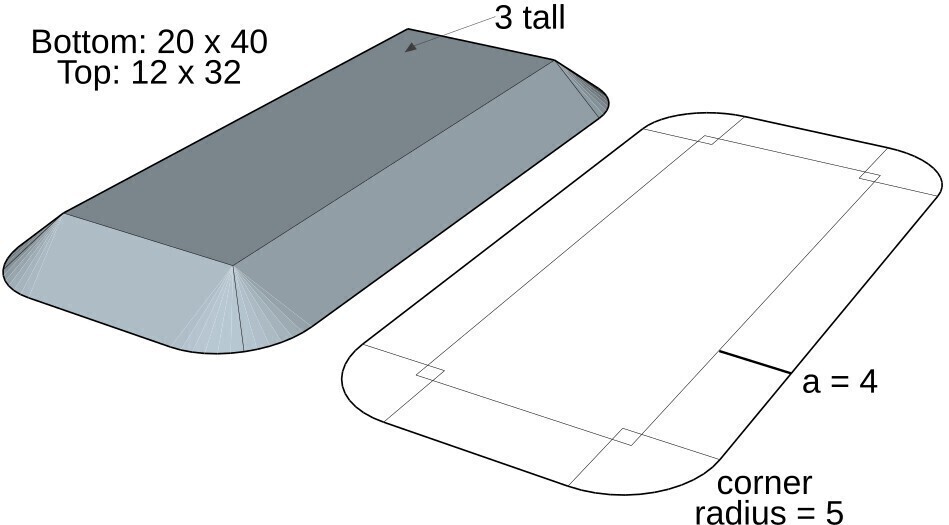
This is our next example shape. A rounded base with a corner radius of 5 units, which is 20 x 40 on the bottom and 12 x 32 on the top. Note that it doesn’t matter if the dimensions of the top are inside or outside the radius of the corner. In this example it is inside the radius.
The dart will be in the middle of the curved corners.
As with the square corner example above, an application of pythagoras is needed to calculate the side lengths. This requires the length between the top and bottom pieces in plan view (a=4) and the desired final bag height (b=3).
In this example, the new calculated side panel length will be sqrt(42 + 32) = 5.
Calculator 🙂
Side Length: 5
Now lets build up the pattern!
Split the base shape into 4 edge pieces at the mid point of the curves, while keeping the edge lengths the same. Then space them out at the calculated distance from the plan view of the top of the shape.
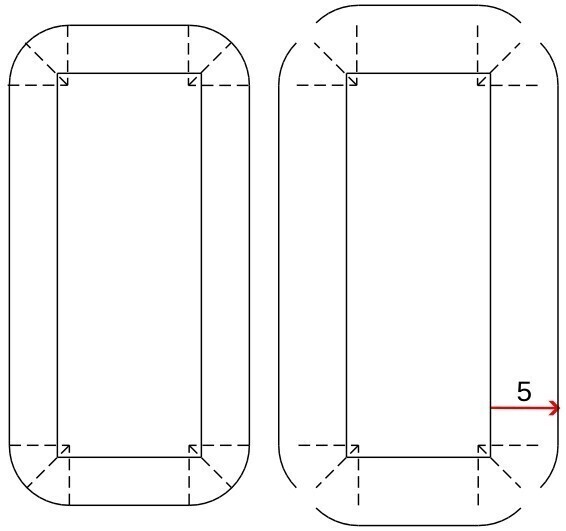
If you were to just join the lines as described in the square corner dart instructions above, you end up with a curved corner that doesn’t lie flat. A little more work is required to the pattern.
The trick is simply to draw a circle from the midpoint of the original rounded corner centre, then use the circle instead of the original curve shape as your seam line.

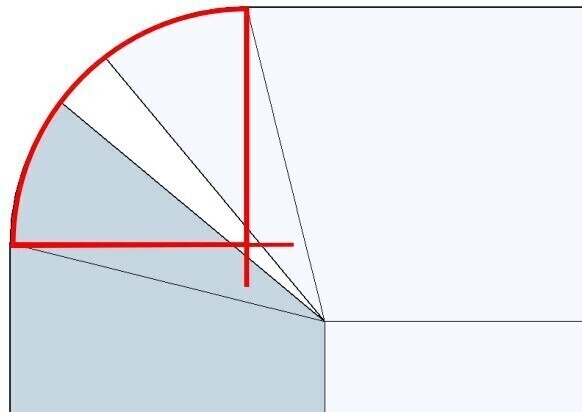
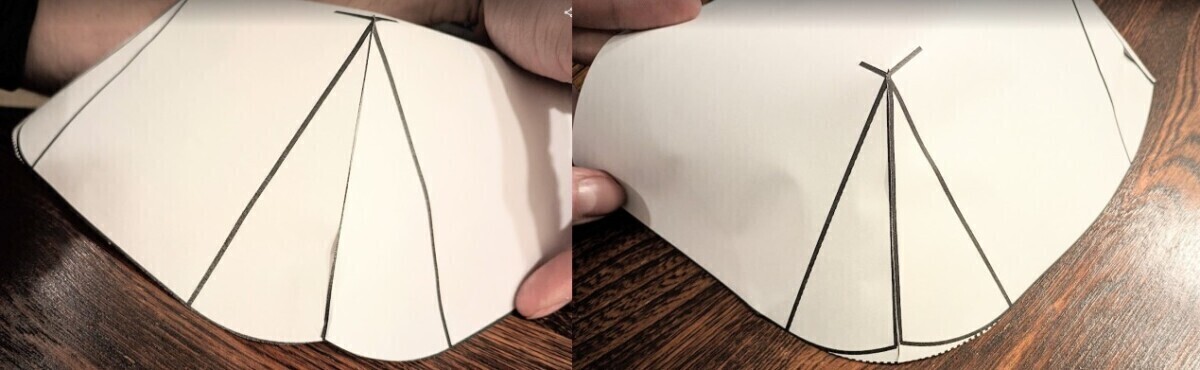
Darts on rounded corners are essentially just cones, which have circular bottoms. In the two examples above, they are oblique cones, so drawing a circle isn’t exactly mathematically correct, but this method is within how accurate you’ll be drawing onto fabric, cutting it and sewing, so it will work well for typical sized darts you’ll find on bags and backpacks. Because you maintained the edge lengths (the black curve lengths drawn onto the overlain circles), the error is only in the length of the dart, not the seam you will sew, so it is negligible.
Finally, add your seam allowance, and you will have a sewing pattern for a dart on a rounded bag corner to your specified dimensions!
"Cheat" and Use CAD for Calculations
Its easy to experiment with paper, but you can also ‘cheat’ and use software if you are inclined that way. Some people disagree with using software, but I’m of the opinion that you should use whatever tools make your life easier. For some it is pen and paper, for some it is software.
Software can’t completely replace practice and knowledge, because for example, it can’t know what is a sensible seam placement.
I personally use Sketchup+unwrap plugin and/or Blender with UV unwrap+papercraft plugin. This will be the topic of a future article.
Sketchup is great precise dimensions but does some weird things with curved corners usually. Blender is great for making all sorts of bevelled curved shapes but is horrible (from my limited playing around) for precise dimensions.
In Sketchup you’ll need to show Hidden Lines to be able to select partial curves to unwrap. Blender’s UV unwrap isn’t always 100% correct for sewing patterns as it is not what it is designed for, but the papercraft plugin can highlight seams where it will need extra cuts or modifying, and if the discrepancies can be ignored or not.
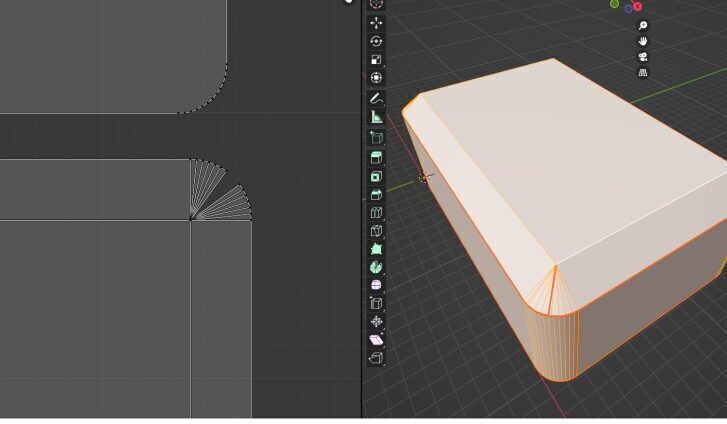
Dart onto a rounded corner in Blender