Your Adventure Starts Here.
Welcome! The idea of creating your own outdoor gear might seem daunting, but it’s entirely achievable. This guide will cover the essentials to get you from zero to your first finished project.
Before You Begin, Remember Two Things
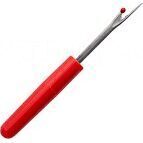
#1: Embrace the Seam Ripper
You are going to make mistakes. And it’s fine! Every professional maker has a drawer full of part finished projects and a well-used seam ripper. You learn more from your errors than from your successes. Don't be afraid to try, fail, and try again.
#2: Function Over Fabric
Don't stress about expensive fabrics or perfect techniques to start with. MYOG is about making functional gear that enables your adventures. Whether thats to save money, make something custom, or show off your skills, you can make something unique today!
Your 4-Step Roadmap to Making Gear
Follow these steps to build your skills and confidence.
Choose Your Machine
You don't need a heavy-duty industrial machine to start. A basic domestic machine, new or vintage, is more than capable of handling most outdoor fabrics. The key is using the right needle and thread. Most projects on this site work with a size 14 to 16 needle, and a strong polyester thread.
Learn About Sewing Machines Learn About Needles & ThreadGather Your Toolkit
Beyond the machine, you only need a few basics: sharp fabric scissors or a rotary cutter, a clear ruler, fabric clips, and a seam ripper. You can build your toolkit as you go. There are a few terms you may not have heard of when looking for tools, so check out our MYOG glossary.
See the Essential Tools List Read the MYOG GlossaryPick Your First Fabric
Start with something forgiving and inexpensive. You could use an old bed sheet, or a low price (but durable) 200D / 400D nylon. It's stable, easy to sew, and perfect for your first few projects like stuff sacks or simple bags.
Read More About FabricsSew Your First Project
The best way to learn is by doing. Pick a simple, beginner-friendly project with a great payoff. A zippered pouch or a simple stuff sack are fantastic first choices to learn basic construction.
Level 1: Zip Pouch Level 2: Darted Fanny Pack Level 3: Simple Backpack Level 4: Hiking BackpackYou're Ready. What's Next?
You have the roadmap. Now choose your path.
Explore Patterns
Jump right in. Browse our collection of beginner-friendly patterns with full instructions.
Find a Project
Deepen Your Knowledge
Want to learn more first? Dive into our library of articles on techniques, materials, and design.
Read the Articles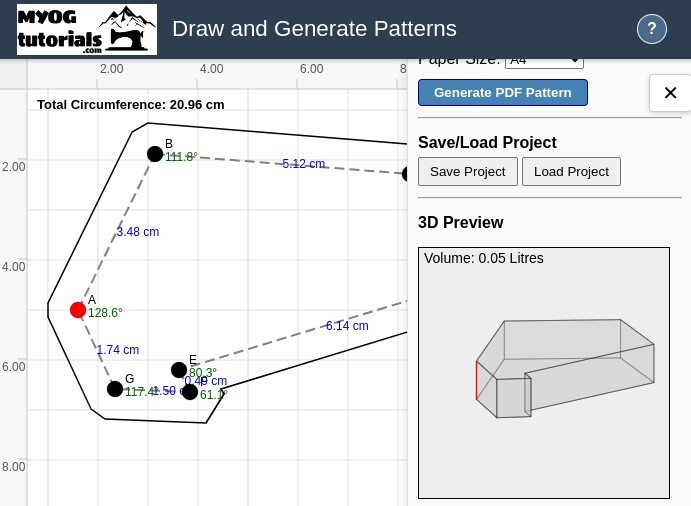
Design Your Own
Feeling ambitious? Use our unique tools to design your own custom gear from scratch.
Use the ToolsChoose Your Next Project
These beginner-friendly patterns are the perfect place to continue your journey.
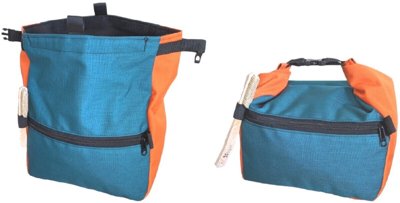
Climbing Boulder Bucket
A great project to learn about sewing circles and simple 3D construction.
View Pattern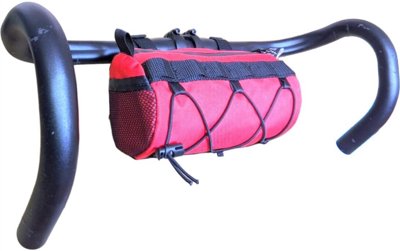
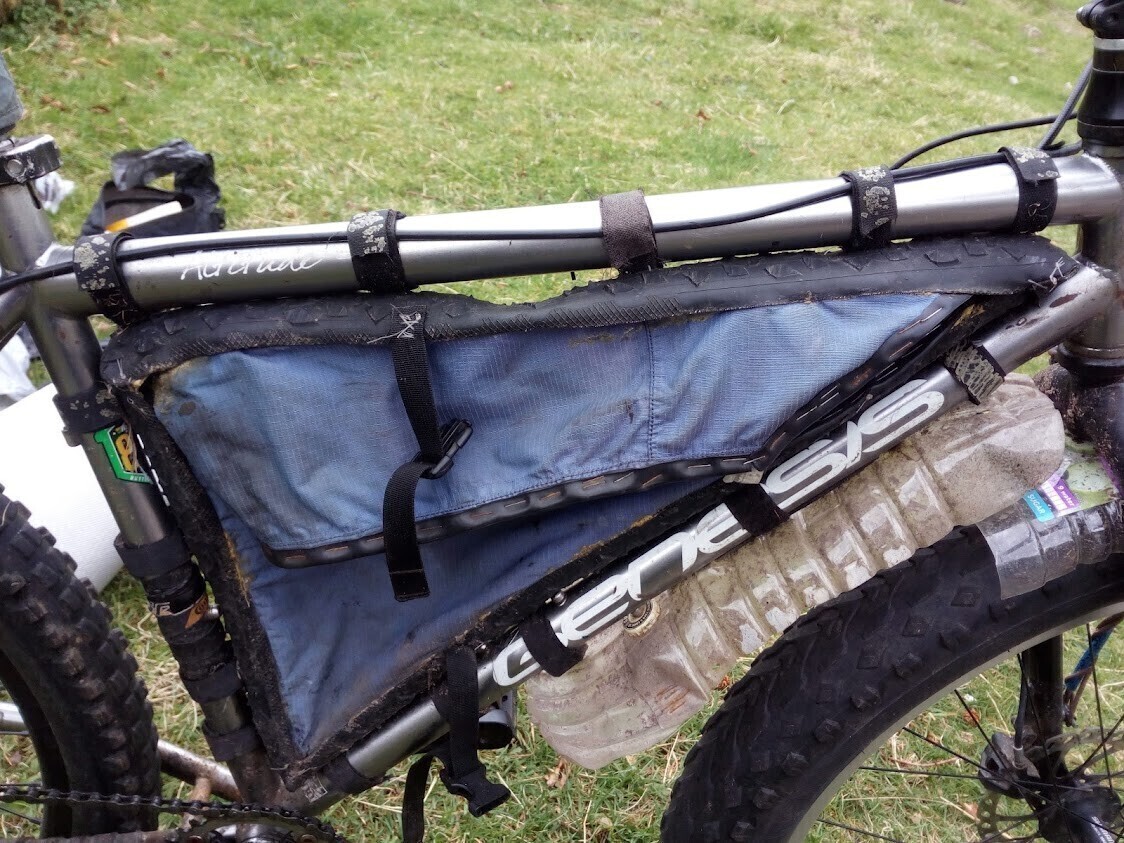
Barrel Handlebar Bag
Practice sewing zippers and attaching webbing with this simple, useful bag.
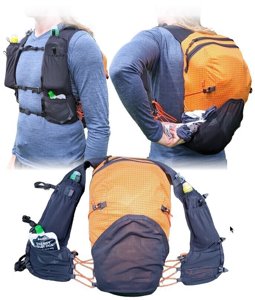
View PatternTRAIL 15 Running Backpack
Feeling ambitious? This pattern has detailed instructions for the adventurous beginner.
View Pattern